

Local quickstart
The local platform runs the exact same DBLab engine
the cloud platforms run, as containers on your machine: no cloud account, no
tunnels, branches on 127.0.0.1. It is the fastest way to try tendb, and a
real dev target — same CLI, same console, same snapshot semantics.
Prerequisites
Section titled “Prerequisites”- A ZFS-capable Docker host. This is the one honest requirement, and
Docker Desktop on macOS cannot provide it — its LinuxKit kernel has no ZFS
module. The preflight script solves it:
- macOS: creates a colima VM
(vz + Rosetta — the DBLab images are amd64 and run emulated), installs
zfsutils-linuxinside it, and builds a file-backed zpool. Homebrew required; colima is installed for you if missing. - Linux: same steps natively (needs
sudo; ZFS must be available for your kernel, which stock Ubuntu provides).
- macOS: creates a colima VM
(vz + Rosetta — the DBLab images are amd64 and run emulated), installs
- Terraform >= 1.11 and Node.js >= 20 for the CLI. Install the CLI
globally (
npm install -g @10play/tendb) so the baretendbcommands below work — or prefix every command withnpx @10play/tendb. - A source Postgres URL — or nothing: the scaffold provisions a seeded demo source container (500 users, 5000 orders) when you don’t bring one.
Zero to first branch
Section titled “Zero to first branch”-
Scaffold it.
From any project directory:
Terminal window tendb init --platform localAccept the defaults (or pass
--yes— the local platform needs no answers) and you get atendb/directory — the Terraform for the engine +tendb-snapshotdcontainers, a seeded demo source, the preflight script — plus atendb.jsonpointing the CLI at it. -
Bring it up.
Terminal window tendb upupfirst runs the preflight (tendb/scripts/host-setup.sh— idempotent; on macOS it installs/starts the colima VM and builds the zpool, anduppoints terraform at the colima Docker socket for you), then applies the stack: engine container (API on127.0.0.1:2345), snapshotd, the demo source (unless you setsource_urlintendb/terraform.tfvars), and the discovery file the CLI reads (~/.tendb/local/params.json).Under the hood / doing it by hand
The same flow by hand is
bash tendb/scripts/host-setup.sh,export DOCKER_HOST=unix://$HOME/.colima/default/docker.sock, thenterraform -chdir=tendb init && terraform -chdir=tendb apply— or usepackages/tendb/terraform/examples/localfrom a repo clone. SettingTENDB_PLATFORM=localenv-only (notendb.json) works too. -
Branch, connect, snapshot.
tendb statusshowstransport localand the sync progress — the demo source syncs in about a minute. Then:Terminal window tendb branches create my-featuretendb psql my-feature -- -c 'select count(*) from users'tendb snapshots create # ~10s round-trip through snapshotdClone ports (
6000+) are published on loopback and forwarded to your Mac by colima, so the printed URI dials as-is. The DBLab embedded UI is onhttp://127.0.0.1:2346(tendb uiopens it), andtendb consoleserves the full dashboard — here is its SQL editor on a branch: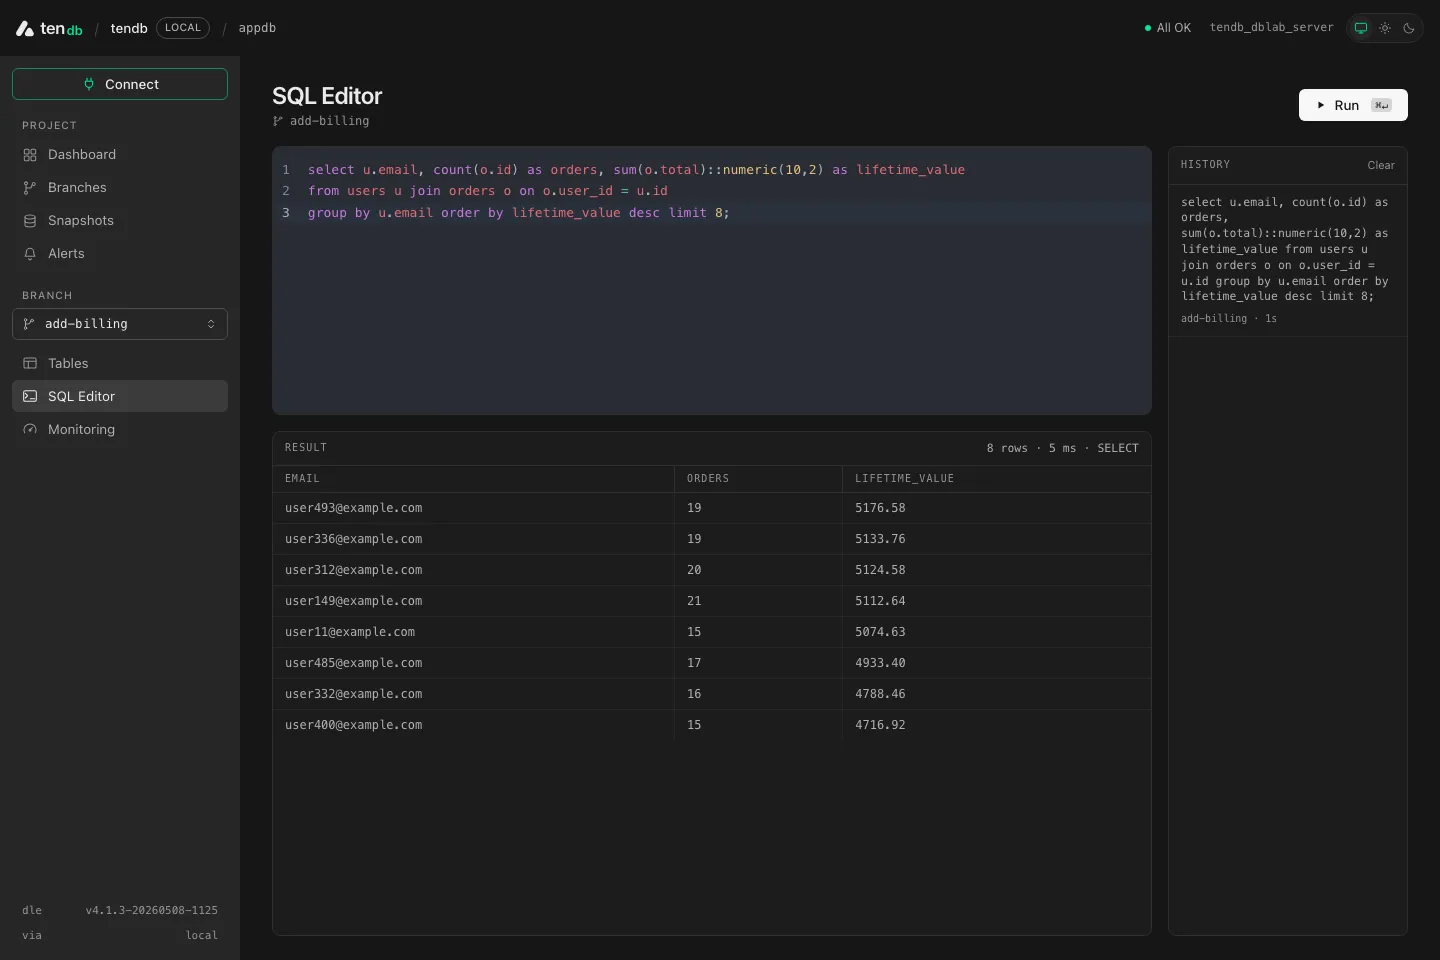
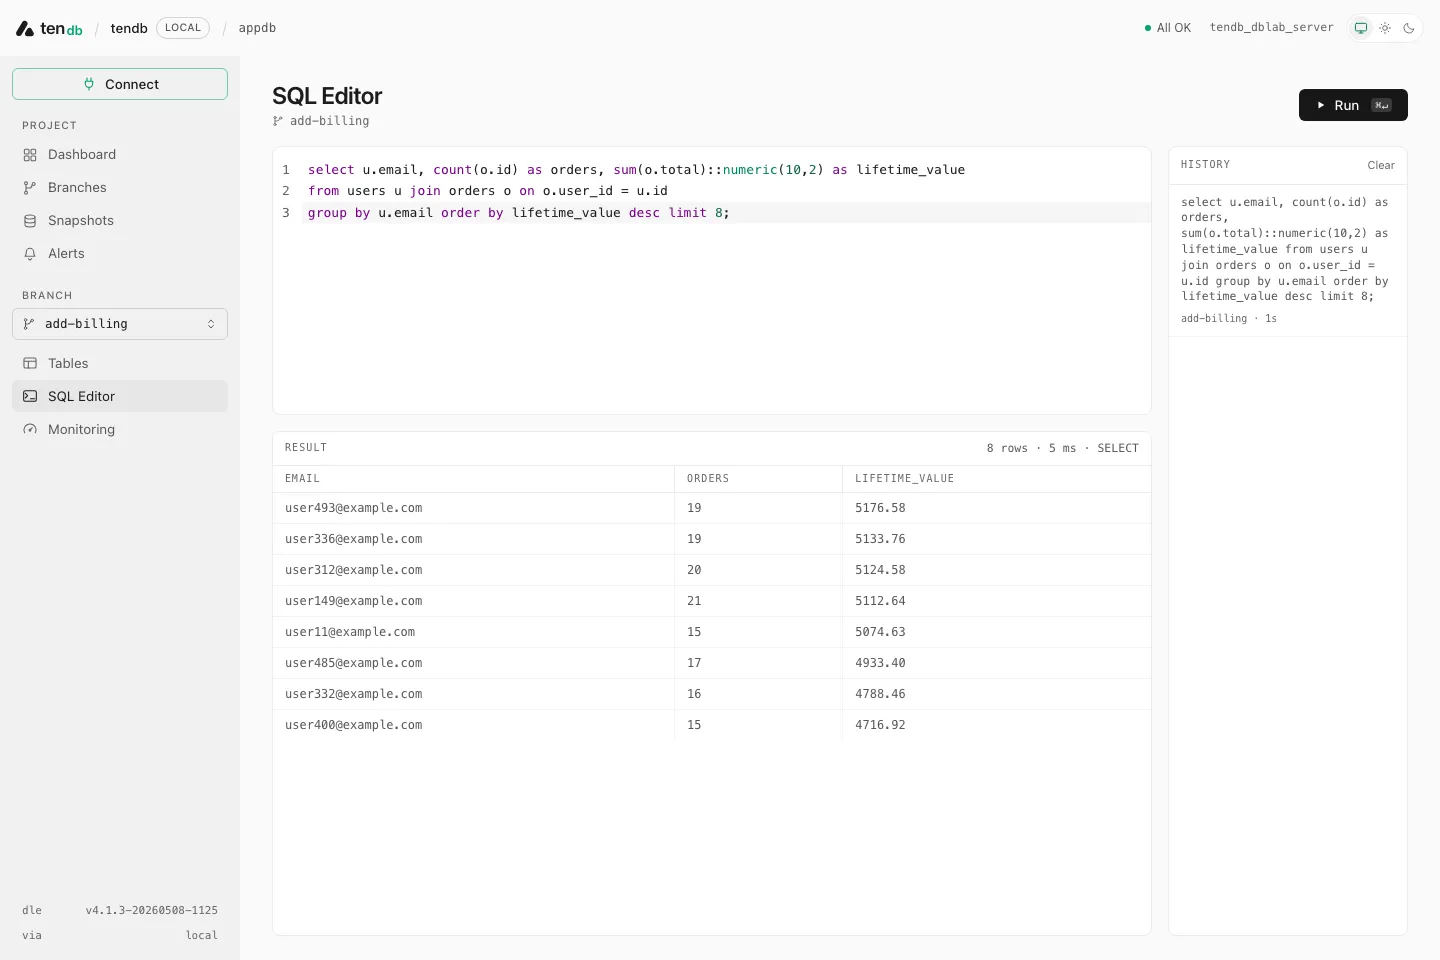
The console's SQL editor, querying a branch of the seeded demo data.
Differences from the cloud platforms
Section titled “Differences from the cloud platforms”- No tunnels — everything is already on
127.0.0.1;tendb tunnel -pstill works via a small TCP relay. - amd64 under Rosetta on Apple Silicon: noticeably slower than native, entirely fine for dev-sized databases.
- Sizing is the VM’s problem: the
sizevariable still sets port-pool width and per-clone Postgres settings, but CPU/RAM/disk come from the colima VM (TENDB_VM_CPUS,TENDB_VM_MEMORY,TENDB_POOL_SIZEenv vars for the preflight).